How to Manually Edit an Icon
In some cases, you may want to edit an icon’s appearance, either because there’s an alternative version you prefer, or because the icon hasn’t been themed by the developer. To manually edit a single icon follow these steps:
4. Apply the theme via your launcher
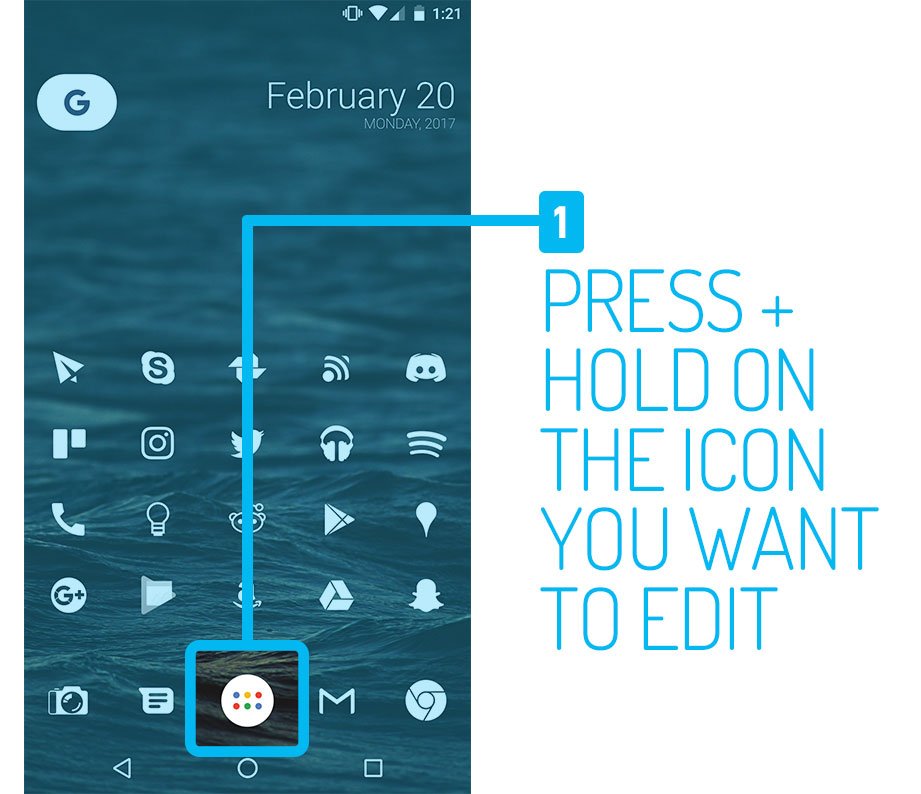
1. Press + hold on the icon you want to edit. Most launchers give you an “edit” popup with options for that icon. For this example, I’m using Nova Launcher.
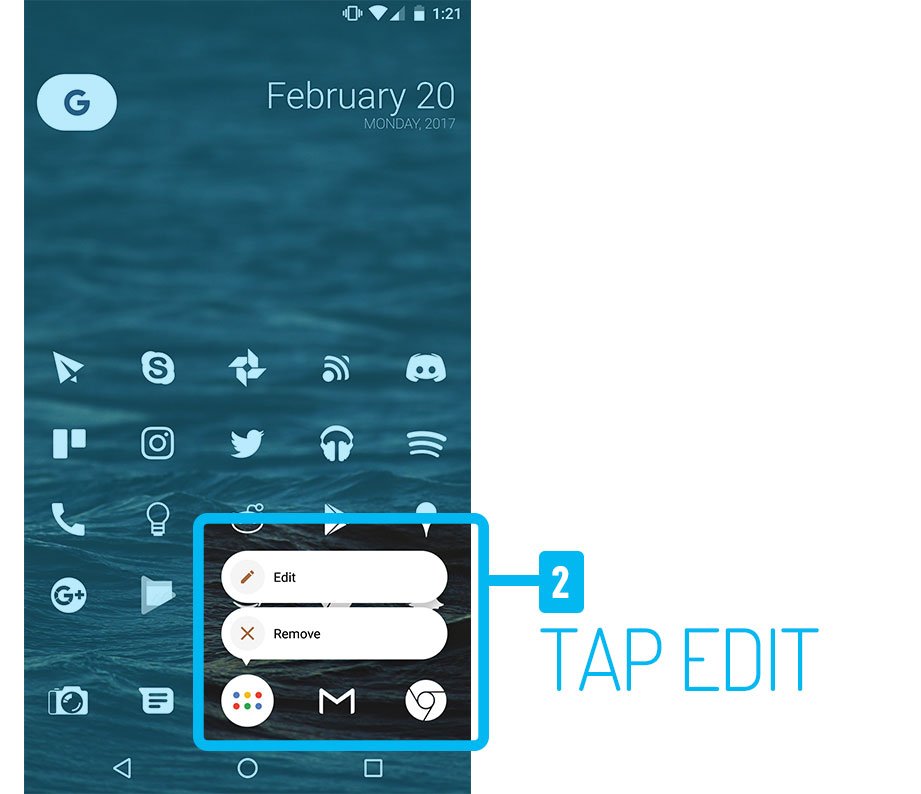
2. Tap the “Edit” option that pops up
3. Tap the current icon to edit its appearance.
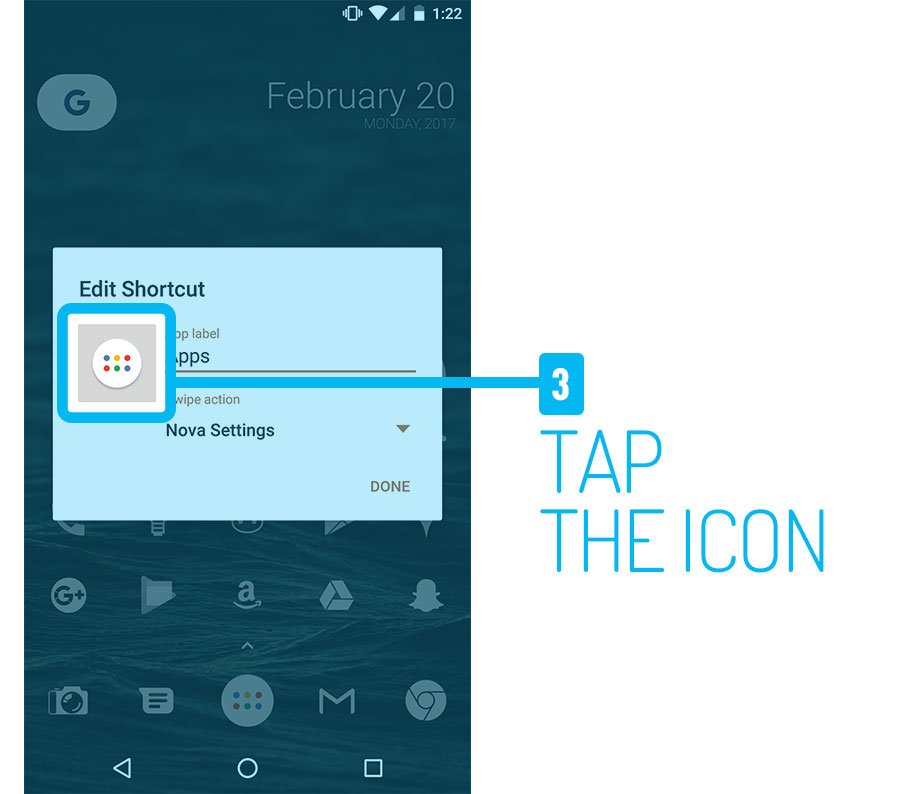
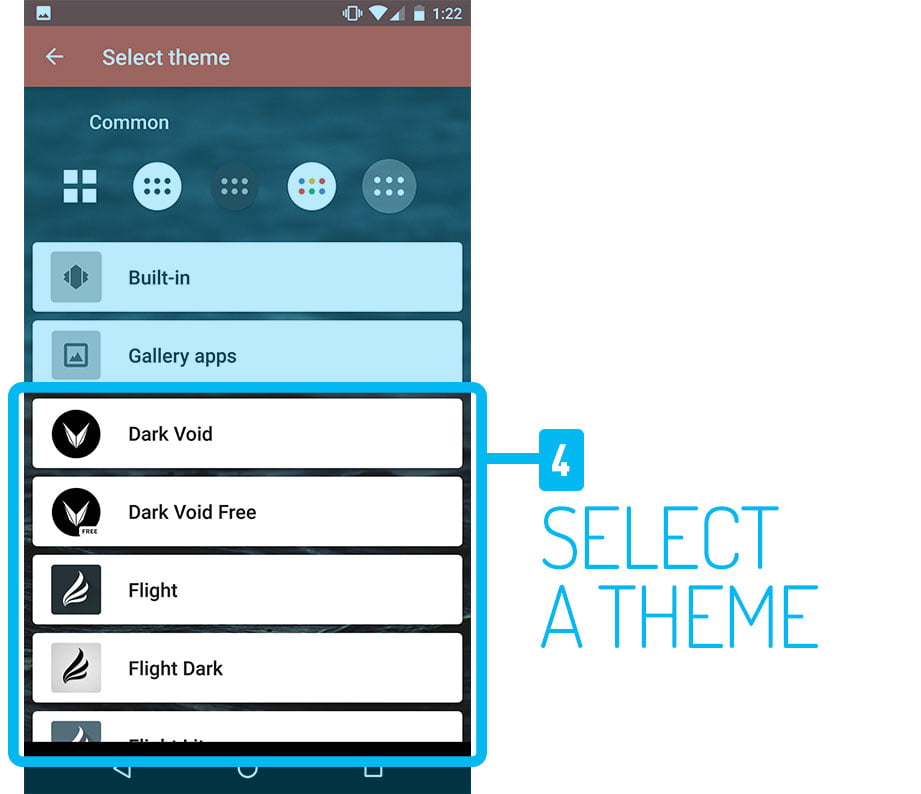
4. Choose a theme to pick a new icon. This section can take a few seconds to load depending on your device.
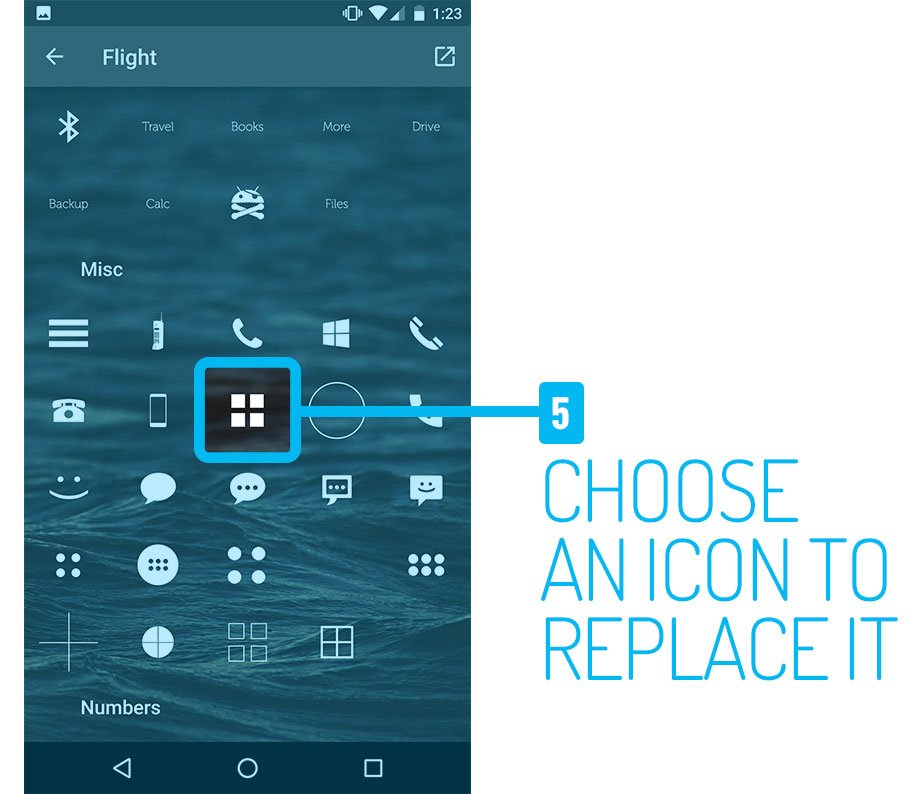
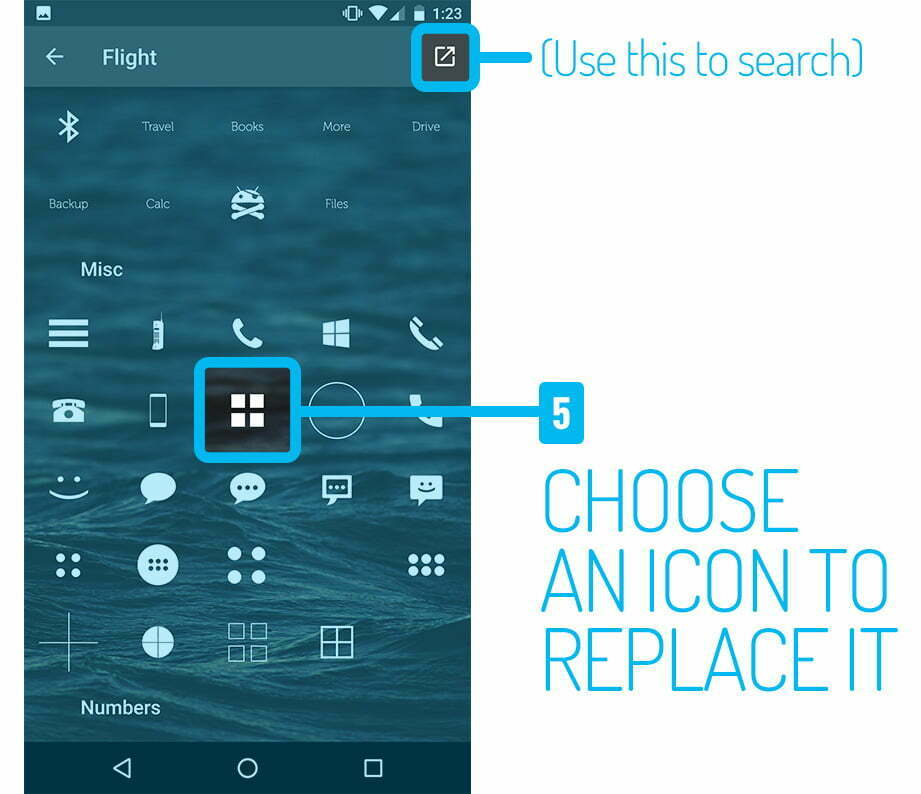
5. Choose a replacement in the list of icons. You can also use the arrow icon on the top right to open the selected icon pack app to search for a specific icon. This feature is not available in all launchers. If your favorite launcher doesn’t have this feature, I recommend asking the developers to implement it, or try Nova launcher for the most customization options.
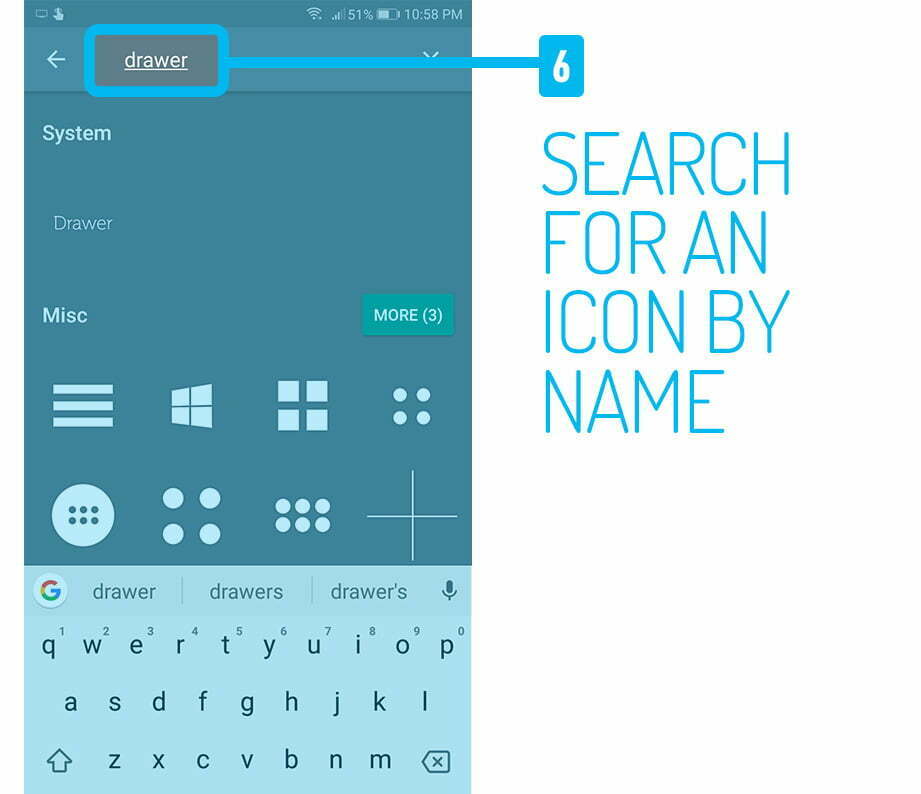
6. If your launcher supports it, you can directly open the icon pack “Icons” section from the previous icon picker screen to search for the icon by name. Select your icon here once you’ve found it.
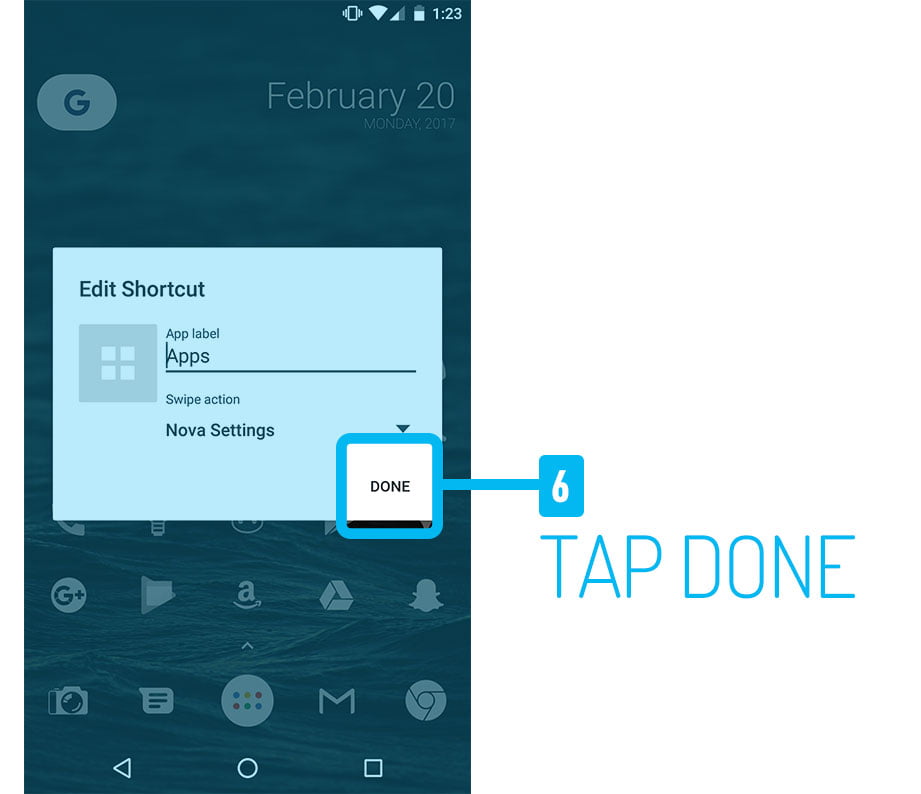
7. Tap “Done” to save your changes.
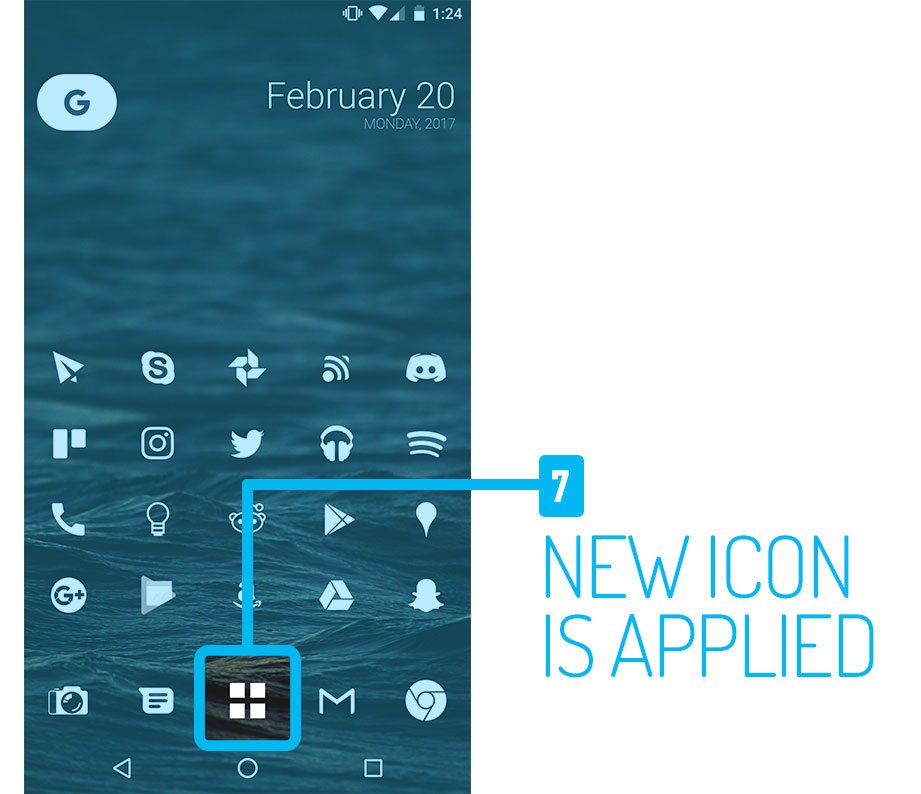
8. The new icon will now be applied to your home screen! Note that some launchers let you edit icons for your app drawer as well. The same steps are involved for changing app drawer icons.
See also: